For non apply-to-all arrays, you can open the equation editing portion in a separate dialog. This provides more space for editing multiple equations, and also allows you to select a number of cells to change the equations at the same time.
To open the arrayed equation editing dialog, first open the Equation Tab for the variable you want to edit. Then, in the equation area, click on the ![]() button at the left.
button at the left.
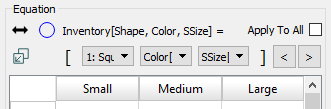
This button will only be visible when the Apply To All check box is not checked. After you click on this, the Arrayed Equation Editor will open:
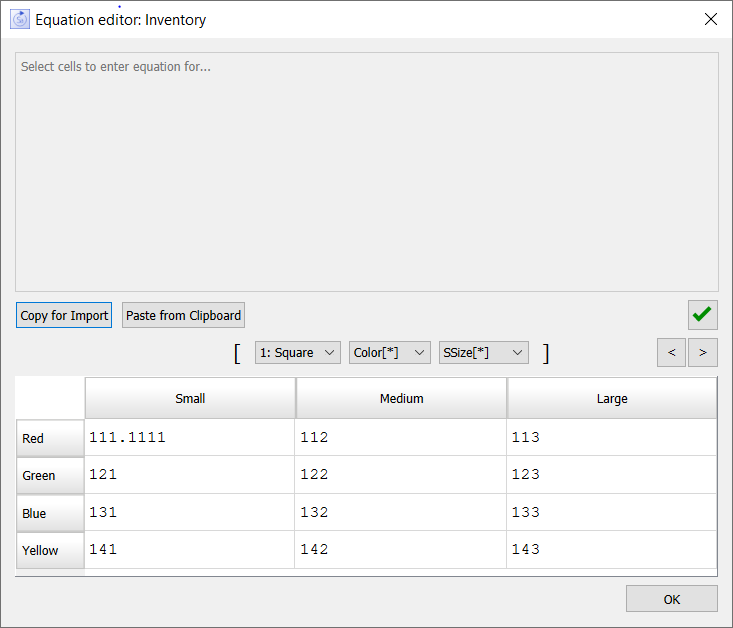
The dialog contains a large window at the top for editing the equation, and displays the different equation entries in a two dimensional grid.
To edit a single value, click on a single cell in the grid, then type in the equation.
To edit all values in a row, click on the row label, then type in the equation. That row label, and all column labels, will be displayed in bold.
To edit all values in a column, click on the column label, then type in the equation. That column label, and all row labels, will be displayed in bold.
To edit contiguous cells, drag over the cells you want to change, then type in the equation. The cells being changed will highlight.
To edit non-contiguous cells, click on one cell you want to edit, and Ctrl+Click each remaining cell you want to edit, then type in the equation.
Note You can use dimension names such as A[dim1] in different cells as long as the variable being defined contains the dimension. Each equation will only refer to one element of dim1. You can also use subranges, but the element being referred to must be valid.
Because only two dimensions can be displayed at a time for Arrays with more than two dimensions, one of the array selection dropdowns will display the name of an array element (Square in the above example), rather than the name of an Array with a * (Color[*] and SSize[*] above). You can choose which subscript you want to see the slice of, and move from one slice to the next using the dropdowns. The < and > buttons will also move between slices.
Note Selecting --All-- in a dropdown will apply the entered equation to all elements in that dimension.
Click on this to put into the clipboard the array values in a form they are readable and can be imported using the Import Data dialog box.
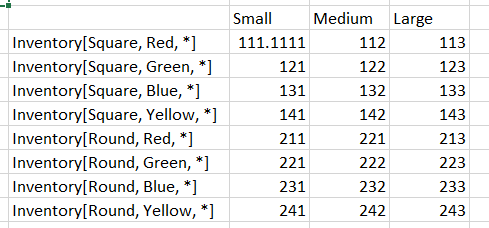
The labels across the top row are for readability - they are not needed or used during import.
This will paste values from the clipboard into the selected cells. The number of rows and columns of values on the clipboard must exactly match what is selected in the grid. Click on the empty cell in the upper left of the grid to select all elements shown in the grid. This will not be the entire array for arrays will 3 or more dimensions.
Changes are made to the equations as you complete the entries. Click on the OK button to close the dialog and return to the Equation panel.